Labels

  • Welcome to the blog of The Glistening Pearl!


    You'll find my inspirations, behind the scenes, sneak peeks, and upcoming events.
  • Have you visited my new profile page on Etsy?
  • Be sure to check out my Etsy shop's new About page too!
Showing posts with label behind the scenes. Show all posts

Tuesday, September 4, 2012

Photography in Direct Sunlight

As much as I enjoy designing my pieces, I also get excited about photographing them. Jewelry is surprisingly difficult to photograph, especially when you have a simple point-and-shoot camera. (I'm hoping to eventually upgrade to a DSLR one day!). However, I kind of love the challenge, and I find it quite rewarding when the pictures turn out well.

Now that I'm in a new location, I decided it was time to work on a new photography set up. I always prefer shooting in natural lighting, and I find that diffused sunlight looks best for my work. Proper lighting has always been my biggest challenge, and I find it to be the most important aspect of my photography.

That being said, I thought it would be fun to share my simple DIY set up for direct sunlight photography:


SUPPLIES:
All purchased at my local craft store -Hobby Lobby- using a 40% off coupon found on their online website.

1. White poster board
Mine is around 2 x 3 feet, I believe

2. White construction paper (poster paper?)
 Approximately the same size as your poster board

3. White tissue paper
Or something comparable to diffuse light (shower curtain, etc.)

4. Backless (and glass-less) wooden picture frame
Find something large (but not bigger than your tissue paper!) and lightweight - It'll be easier to maneuver when shooting

5. Masking tape


Rather than just shooting on a large piece of construction paper, which can easily bend and warp with just a few uses, I've taped the paper onto a poster board. This keeps my shooting surface relatively clean and smooth over time. Conversely, rather than just using the poster board, I picked up the construction paper because it is cheaper to replace when your sheet becomes too dirty for your liking.


I wish my frame could be a little lighter, but I wasn't able to make a frame myself. As you can see, I've just used the masking tape to secure the tissue paper tautly against the frame. Voila! A relatively cheap light diffuser.

Sometimes I position my diffuser directly over the top of my jewelry, sometimes I have it leaning over the side. It really just depends on the direction of the light and which direction I want the light coming from.


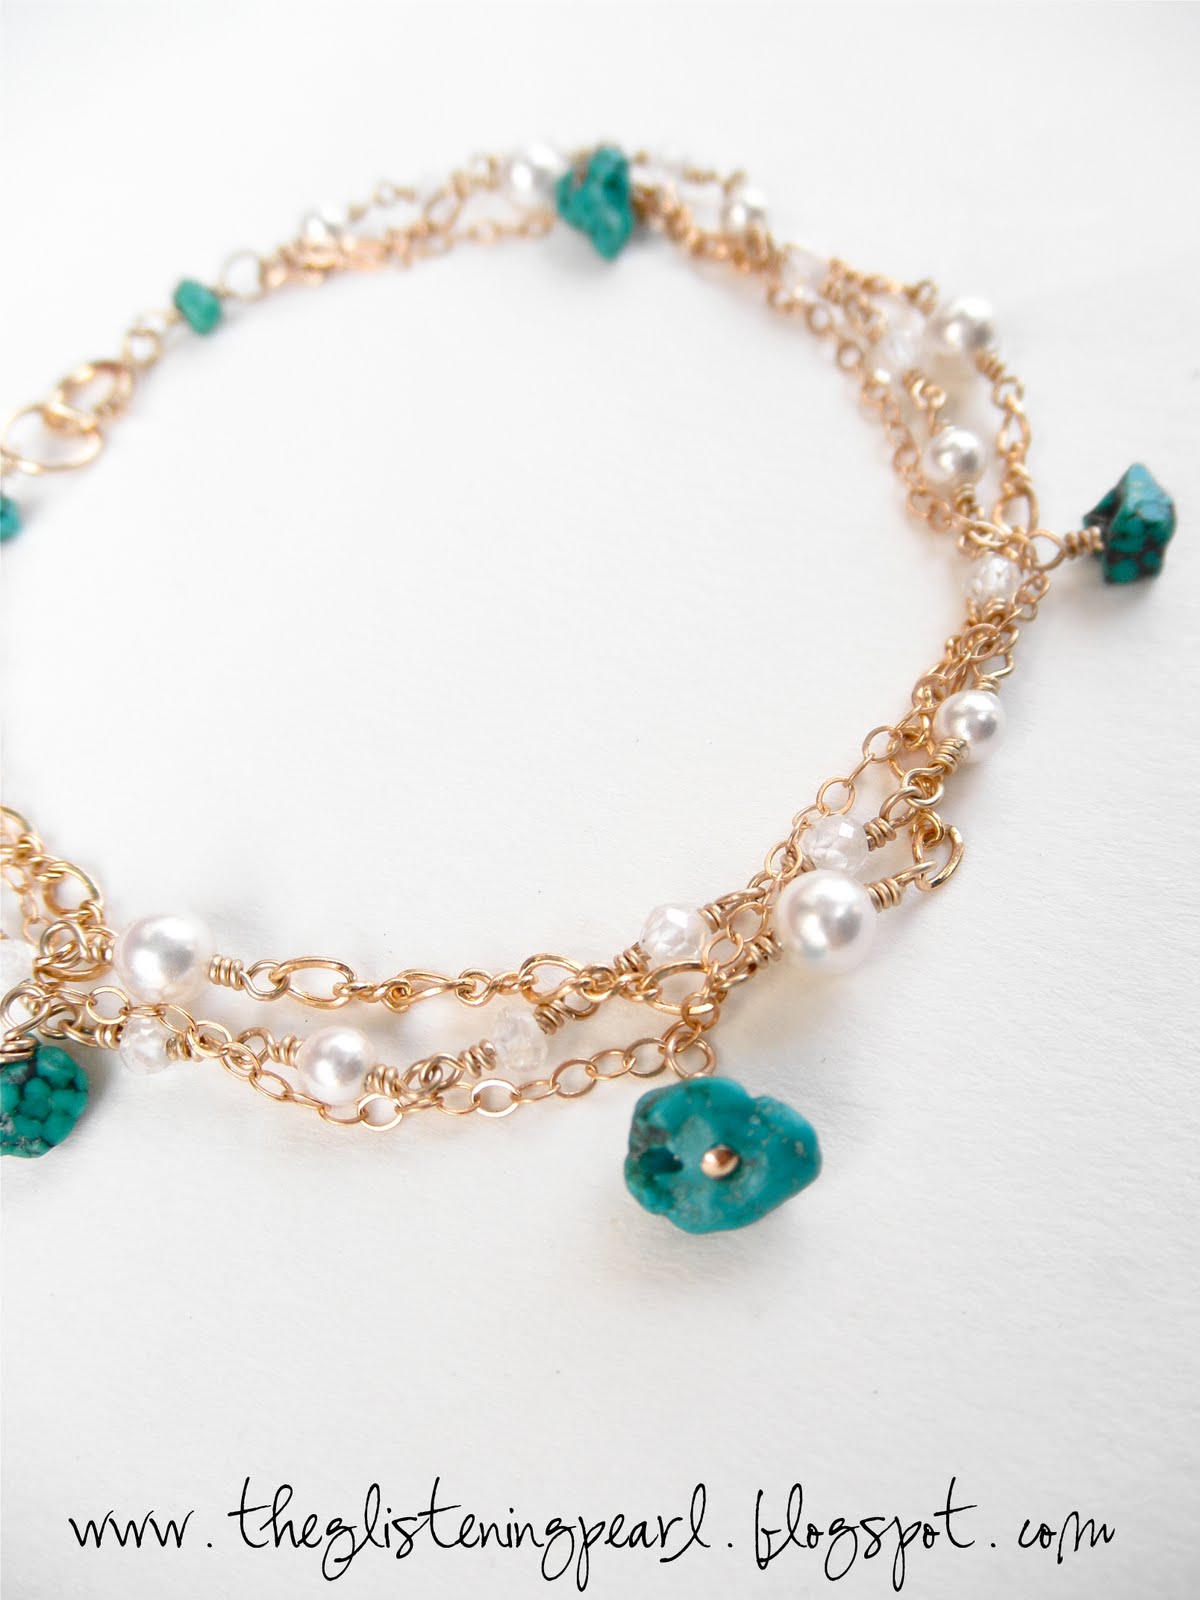
Here's the outcome of my photo shoot last week. It's a little greyer than I'd like, but I'm still experimenting with what time of day works best for the lighting I need. Hope you enjoyed this behind-the-scenes!


Tuesday, August 28, 2012

My Little Corner

Welcome to my new and improved workshop! Granted, my little corner in the apartment is no longer this organized and the table has supplies strewn all over, but I finally have my own jewelry working space and I couldn't be happier.


I'm currently in the process of going through my inventory and reorganizing my supplies, but hopefully I'll have a updated picture in the near future. I love being able to look out my window while I work, and I look forward to being even more productive designing in a comfortable environment.

I'm so pleased to be sitting at my table right now and working on a bracelet. Ahhh..... Back to it!


Thursday, August 23, 2012

New City, New Set-Up

Aloha from Las Cruces, New Mexico! I've had quite the West Coast-ish journey this summer (check out my previous posts!), and I've finally settled into this new place of mine.

Welcome to my lovely little patio. Here I've set up a test run of my newest display - a slightly larger table,  a market umbrella (yay, shade!), two DIY earring displays, and my beautiful DIY necklace tree. I've brought along the driftwood I found in Santa Barbara, but my stone from the beach and mirror decided to somehow escape my boxes during shipment! It makes my display feel incomplete, but I'm sure I'll make do.


I'm happy that I've been able to expand my display, as well as having the option to bring in another table to the side, if needed.


This jewelry tree is so gorgeous in person, especially with all the shimmering necklaces draped around the branches. I love being able to hand-make most of displays as I'm really able to enhance the essence of my designs.

What do you think of this little boutique on-the-go? Is New Mexico ready for this beachy goodness?!


Tuesday, June 12, 2012

The Bed-Table

As you may or may not already know from my previous post, I have my very own studio apartment to design my jewelry in. And to live in... and to share with another person. It's cozy and cute, but you can only stand so many components disappearing and later found somewhere on the floor (or never) when the only workspace you have is your bed.


I was making a couple necklaces last night while watching TV, and I couldn't help but think about how excited I am to move. Moving will mean I will have a little more space for my jewelry - maybe even my very own table to work on! Or if I'm really lucky, maybe my own corner of a room (: A girl can dream, right?!


Wednesday, November 9, 2011

My Workspace

I live in a studio apartment, so I really don't have any real "workspace." Two long board surfboards, two long board skateboards, a couch, a road bike, a TV, a bookshelf, a queen size bed, two bed side tables, a bird cage (with a pet rat inside), among a handful of other things take up most of the floor space. It prevents me from acquiring too many things that I don't need, but at the same time it doesn't leave me too much room to have my own jewelry space.


The bed, the couch, and frequently, the floor, are the places I find myself making jewelry. They're probably not the most practical places to keep beads from rolling around and disappearing into oblivion, but its manageable.

One day I wouldn't mind having my own dedicated jewelry table. Whenever I'm at a hardware or container store, I'm always looking at all the containers with cute little drawers that could hold my supplies. In the meantime, I have a portable craft box with three compartmentalized tackle boxes inside. The bf thoughtfully purchased it for me for my last birthday. Its easy to take with me to my jewelry shows so I can make new pieces while I'm there.

Shimmering Sands Earrings
SHOP

I wore my pair to a wedding I went to last month. Pretty, girly, beachy, and elegant. I'm hoping to use more pearls and clusters in my designs released this holiday season. Rest assured, each pair is unique because I will probably keep losing pearls and crystals as they roll off the bed. Just kidding.


Saturday, August 13, 2011

Doorstep Photography

I got home from work early and decided to finally take some photos of a few new items that I've designed recently. In my previous post I mentioned that I took my photos on a table outside. My mood has changed yet again and I've taken my last few photos on my doorstep.


It's a slightly unconventional place to shoot: I only have two steps, so I crouch to get the right angle (seemingly uncomfortable, but those who know me know that I'm great at squatting myself into a little ball - some have mentioned that it's somewhat bird-like, which I do not take offense. It's not surprising considering my extensive time I spent with birds - mainly chickens - growing up). The steps don't provide a very large, flat surface to shoot on - In fact, my white background cardstock/poster paper gets dirty on the steps and it needs to be replaced. But all being said, I like being outside and sitting on the floor, and the afternoon lighting works best for me. It just happened to amuse me when I thought about my situation at my doorstep so I decided it would be post-worthy.


I downloaded 77 pictures taken of 6 items and imported them into iPhoto (a very low number compared to my average shoot). I actually enjoy editing my photos even if it takes some time.

Here is another lovely bracelet. Today was a good doorstep day.

 "Free Spirit Bracelet"


Saturday, July 2, 2011

Light Box Photography

Today was so exhausting (and fulfilling) that I can't believe I have the energy to blog. 
Paddling: On the beach at 6:15am, off to the car at 10:15am
Quick shower, quick check in the mirror (Do I look presentable? Check!)
Whole Foods Local Artist Market: Out of the house at 10:45am, packed up and headed out at 5:30pm
I bought my first pair of feather earrings from Rogue Butterfly. She was so kind and let me share some space under her tent at the Whole Foods event. I'm extremely thankful because it was scorching hot today! I'll be putting up a blog post with pictures of those earrings later - I absolutely adore them.

Speaking of pictures...
I wish I could afford a digital SLR. I assume that it would help out my photos, but maybe not. Over the last year I've learned that proper lighting, choice of background, and the use of props can make such a big difference that maybe it really doesn't matter what kind of camera I own. I started off using my point-and-shoot camera, the Olympus Stylus Tough (12 megapixels - it's waterproof too!), to take my Etsy pictures, but then switched over to the boyfriend's Olympus Stylus 7030 (14 megapixels). Although my camera costs more, I think his delivers better results in varying lighting conditions. His camera won't allow me to manually change the aperture settings, but I seem to make do in macro mode. If you own a simple digital camera, your camera probably has the minimal features that I utilize (i.e. macro mode and manual white balance).


I don't live in a place that will allow me to easily take pictures using natural lighting indoors (no tables, few conveniently located windows), so I rely on Santa Barbara's good weather to shoot outdoors. I used to open my front door and lay on the carpet to take shots, but I've since decided that this is ridiculous. I currently shoot on a table in my backyard.


I love my light box. I don't know how I ever took pictures without it. It's getting a little beat up since it's just a cardboard beer box (I made the boyfriend buy a case of beer just so that I could have the box - no complaints there! haha), but it really doesn't have to be fancy to be functional. It's my secret to making my backgrounds appear whiter and to getting an evenly distributed soft light (versus harsh direct sunlight). The tissue paper taped to the outside diffuses any direct sunlight, and the white poster board is glued to the inside to help reflect more light inside the box.


Here's my final product! My newest beach glass necklace featuring green sea glass handpicked in Hawaii.

Green sea glass handpicked on Oahu, Hawaii
Gold vermeil starfish
Sea foam green amazonite
White freshwater pearl
Translucent semi-precious stone

I wish I had better equipment and resources, or maybe even just more space, but I've somehow managed to make do with what I have. I've enjoyed the challenge and the outcomes have been rewarding. Photographing my jewelry and editing the photos are almost just as time consuming as designing and making the jewelry itself, but I love both aspects nonetheless. Who would've thought that my two hobbies could go hand in hand.

Click here to visit my previous photography post